
1. Installation of stainless steel claddingConstruction Methods, Stainless steel cladding is a commonly used finish in modern interior decoration projects. To achieve the best decorative effect, the thickness of the stainless steel cladding should generally not be less than 1.2 mm; ideally 1.5 mm thick, to ensure that the surface remains smooth and does not cause visual discomfort due to unevenness. Stainless steel cladding should generally not be installed directly onto cement-based walls or columns; instead, plywood or other backing boards must be used as a substrate, with the stainless steel cladding bonded to this wooden base. 1. The work procedure involves a concealed works inspection, followed by the production of a detail drawing, then the fixing of the substrate boards, followed by substrate preparation, then marking out lines, drilling holes after marking, mortising after drilling, and subsequently the installation of the stainless steel panels; Prior to installation, holes must be drilled and tenons cut; after tenoning, the wooden battens must be secured, and the wooden battens must undergo damp-proofing and fire-retardant treatment. 2. Key operational points 2.1 Preparation of detail drawings: Before ordering and installing the stainless steel panels, detail drawings must be prepared; These drawings must be based on the design layout of the finish, taking into account the actual form of the installation surface and its size, to determine the specifications, dimensions, installation method, substrate structure and adhesive for each aluminium-plastic composite panel.
2. Product model; it is also necessary to determine the joint dimensions, which are generally between 3 and 5 millimetres. For cylindrical surfaces, the specific construction details of the joints must also be clarified. Next comes the substrate preparation stage, where a spirit level is used to check the verticality and flatness of the wall surface. If the deviation in wall flatness is within 10 millimetres, the surface should be levelled using levelling mortar; if the deviation exceeds 10 millimetres, shims may be inserted between the wall and the timber battens to resolve the issue, with the aim of ensuring that the timber battens meet the required standards for flatness and verticality. This is followed by the marking-out process. Based on the sub-base dimensions specified in the working drawings, mark out the horizontal and vertical lines for the wooden battens on the wall, ensuring that the marked dimensions are precise and accurate. 2. Using a 12–16 mm hammer drill bit, drill holes in the substrate at the positions marked by the lines. The drilling depth must not be less than 40 mm, and the hole spacing is typically 500 mm or less; this is the operational requirement for the ‘four-hole, tenon-setting’ method. Next, drive wooden dowels with a diameter slightly larger than the hole into the holes. If the area is in a damp region or on a wall surface prone to moisture, the wooden dowels must first be soaked in tar; once dry, they should be driven into the holes, and their surfaces should be planed flush with the wall. This constitutes the ‘2.5’ fixing method.
3. Timber joists, typically with cross-sectional dimensions of 30 mm × 50 mm, are generally spaced at 500 mm intervals. If the substrate board is 12 mm thick, the spacing between the wooden joists can be increased to 600 mm; if the substrate board is 13 mm thick, the spacing can be increased to 800 mm. The length of the nails used to fix the timber battens to the substrate is generally 22.5 times the thickness of the timber batten. Vertical battens must be plumb. Both horizontal and vertical battens must lie in the same plane. 2.6 Damp-proofing and fireproofing: In damp areas, the substrate must be treated to prevent damp ingress; this is generally achieved by applying two coats of water-based polymer waterproof coating. All wooden battens must be fireproofed by applying fire-retardant paint to their surfaces, 2.7 Fixing the Substrate Board: The substrate board may only be fixed once the concealed works have been inspected and approved. The substrate board is usually made of blockboard, with a thickness of approximately 10 mm. The length of the nails used to fix the substrate board is 22.5 times the thickness of the board; for boards thicker than 10 mm, nails of 30–35 mm are commonly used.
4. Secure the panels using iron nails; the number of nails and the spacing between them must be appropriate. A spacing of 200 millimetres is generally considered suitable, with the aim of preventing the wooden panels from warping; however, the nail heads must be flattened before driving them into the panels. 2.8 When marking out the stainless steel sheets, the installation lines corresponding to each sheet must be marked on the backing board. Both the horizontal and vertical lines must be drawn as double lines; the space between the two lines represents the distance between the joints, whilst the remaining lines indicate the edges of the stainless steel sheets. 2.9 Installation of stainless steel panels (1) Surface preparation of the substrate is essential, as this is particularly important for the quality of the bond. To achieve the best bonding results and minimise the impact of various adverse factors, the bonding surfaces must generally be clean, smooth and glossy, with tight joints and dry conditions, thereby ensuring good wetting of the bonding surfaces and a uniform adhesive layer thickness. The following aspects must be taken into account when preparing the surface of timber: the moisture content of the timber must be controlled at 8 per cent; the surfaces to be bonded must be flat and smooth—typically, finely planed surfaces exhibit good adhesion; and the surfaces to be bonded must be clean and new. Old surfaces.

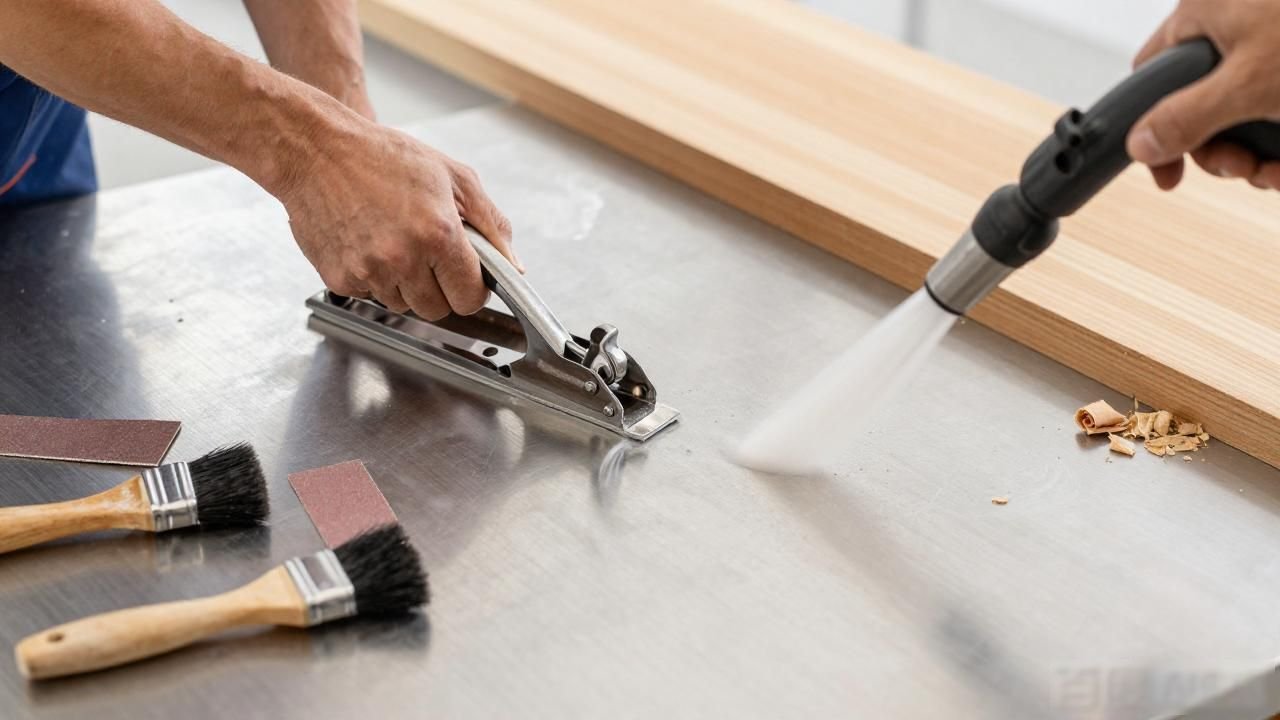
5. When dealing with unclean surfaces, methods such as planing and sanding should be employed; to remove wood shavings from the surface, one may use a brush, blow them off with compressed air, or wipe them away with a clean cloth; For the end faces and bevels of timber, or for loose, porous materials, a sealer or primer must be applied beforehand; to protect the finished surface from soiling, the number of handling operations should be minimised as far as possible, or the preparation of the bonding surface should be carried out after other processes; For degreasing, in the case of timber with high levels of oils, sugars and waxes, a 10% aqueous solution of caustic soda (NaOH) may be used to improve wettability and bond strength; Alternatively, solutions such as acetone or toluene may be used to wash the bonding surfaces, or a cotton cloth soaked in one of these solutions may be used to wipe the surfaces, thereby achieving degreasing, de-adhesion and dewaxing. The bond strength of the treated timber is improved compared to that of untreated timber; however, for timber species with low oil content, there is no significant improvement. Once the treatment is complete, the surface can be prepared for gluing once the solution has evaporated and the surface has dried. At the same time, the treated surface should not be left to stand for too long.
6. Secondly, the preparation of adhesives: there are a wide variety of adhesives, each with different mixing ratios. Therefore, when using a particular adhesive, it is essential to prepare it in accordance with the manufacturer’s specified ratio; the ratio must be correct and precise in order to achieve the best results. Furthermore, thorough mixing of two-component adhesives after blending is of the utmost importance; they must be mixed thoroughly and evenly. Thirdly, adhesive application: whilst there are numerous application methods, the following are the most commonly used. When carrying out work on-site, the brush-application and trowel-application methods are generally the most suitable. Brushing: Applying the adhesive to the bonding surfaces with a brush is the simplest, easiest to operate and most commonly used method. It is suitable for small-area applications. Spraying: For low-viscosity adhesives, a standard paint spray gun can be used for application. For high-viscosity adhesives with a short pot life that are difficult to clean up, specialised spraying methods used in the reinforced plastics industry can be employed. The advantage of this method is that it ensures even application and is highly efficient; however, the disadvantage is that there is a relatively high loss of adhesive, and solvents may be released into the air, leading to environmental pollution. Trowelling method: Correct.
7. For high-viscosity colloidal and paste-like adhesives, a scraper may be used to apply the adhesive. The scraper may be made from materials such as a 11.5 mm thick flexible sheet or rigid polyvinyl chloride (PVC) sheet. (4) The process of letting the adhesive stand and cure involves, after applying the adhesive to the bonding surfaces, allowing it to remain exposed to the air for a period of time to facilitate its spreading, wetting and penetration, and to enable the solvent to evaporate. This process of leaving the surfaces undisturbed, from the completion of adhesive application until the two bonding surfaces are brought together, is known as ‘open time’. Once the two bonding surfaces have been coated with adhesive and allowed to air-dry, they are brought into contact with one another; however, no clamping force is applied, and they are left undisturbed for a period of time. The process of keeping the surfaces at rest from the moment they are brought into contact until a predetermined clamping force is applied is known as curing. During the curing period, the evaporation of moisture from the adhesive essentially ceases. However, processes such as diffusion, wetting and penetration continue to proceed slowly. The durations for both the open time and the curing period are determined by the type of adhesive and are generally as follows.
8. There are three types of situations. One of these is where no curing or ageing is required; bonding and clamping must be carried out immediately after applying the adhesive. Animal glue, bone glue and hot-melt adhesives fall into this category; Another category comprises adhesives that require air-drying after application and can also be stored for further processing; solvent-based, latex-based and solvent-containing chemically reactive adhesives all fall into this category; A third type requires that, after adhesive has been applied to both surfaces, the materials are left to air-dry until they reach a ‘finger-dry’ state (that is, when the adhesive film feels neither completely sticky nor completely dry to the touch), the surfaces are then pressed together immediately after bonding, without the need for curing. If a particular adhesive falls into this category, it is, in fact, a solution-based rubber adhesive. (5) As the adhesive cures, it develops bonding strength. To ensure bonding occurs during the curing process, the key requirement is to ensure that the bonding surfaces are in close contact. This means that pressure must be applied to the bonding surfaces before the adhesive begins to cure; at the very least, contact pressure must be applied. If the bonding surfaces cannot be kept in close contact during the curing process, voids will inevitably form within the bonded layer, thereby compromising the quality of the bond. Applying an appropriate amount of pressure can ensure this.
9. Improving the wetting properties of the adhesive enables it to penetrate irregular surface areas, which helps to form a complete, thin and uniform bonded layer. The magnitude of the clamping force depends on factors such as the type of adhesive and the materials being bonded, and is typically within the range of 0.2 to 0.5 MPa. The duration of clamping is determined by the type of adhesive and the curing temperature. The application of clamping force generally commences after bonding or a holding period, and the pressure is not released until the adhesive has fully cured or is essentially cured. Generally speaking, the requirements for the clamping operation include: an appropriate magnitude of clamping force, uniform pressure distribution, sufficient clamping time, and ensuring that the bonded parts do not deform under pressure. There are various methods of applying pressure; the choice of method must be based on the category of the materials to be bonded, the characteristics of their shapes, and the requirements of the bonding equipment. Generally speaking, the more commonly used clamping methods include clamping using a lever with a counterweight, clamping using spring clamps, clamping using multiple weights, clamping using sandbags, using air cushions or spring washers, utilising a hot press, applying pressure with nails, using screw clamps, and, for sheet materials, employing layered clamping. Curing is (6) A full rewrite cannot be completed as the full stop is missing; please complete the sentence before continuing with your question.
10. Through solvent evaporation or chemical reactions, the adhesive transforms from a colloidal state into a solid bonded layer, whilst simultaneously forming a bond; this is a physicochemical process. The quality of the cure is closely linked to the curing conditions, namely temperature, time and clamping force. The curing conditions for commonly used adhesives are listed in Table 1. When carrying out operations, it is essential to ensure that the curing conditions required for each adhesive are met; this is a crucial step in guaranteeing the quality of the bond. The curing temperature plays a decisive role in both the curing rate and the quality of the cure. Even for adhesives that cure at room temperature, raising the curing temperature—even to within 100—is beneficial. Table 2 shows the minimum curing temperatures for commonly used adhesives and the minimum film-forming temperatures for emulsion-based adhesives; when the temperature falls below these values, the curing process cannot proceed. Table 1 sets out the curing conditions for commonly used adhesives. The list includes urea-formaldehyde adhesives, for which the clamping force is 0.5 to 1.5 MPa, the curing temperature is 0.5 to 1.5, the curing time is 0.5 to 1, and there are additional notes.
11. The value for cold-prepressed phenolic resin per 1 mm thickness is 0.51, whilst that for cold-prepressed resorcinol-formaldehyde resin per 1 mm thickness is 0.21; for melamine-formaldehyde-based materials it is 0.51, and for epoxy-based materials the values are 0.10, 0.20, 0.10, 0.2240, 0.51, polyvinyl acetate at 0.20, neoprene rubber with a contact pressure of 2030, requiring adhesive to be applied to both sides instantly; animal glue at 0.20, and Kusu adhesive at 0.51. There is also Table 2, which presents the minimum curing temperatures or film-forming conditions for commonly used adhesives. The table lists numerous types of adhesives, including polyvinyl acetate emulsions, which are available in winter, summer and all-season variants, Kusu adhesive, synthetic rubber-based adhesives, polyurethane, solution-based polyvinyl acetate, solution-based cellulose-based adhesives, epoxy-based adhesives, phenolic-based adhesives, and ethylene–vinyl acetate copolymer emulsion-based adhesives.
 Chinese
  Japanese
  English
  German
  Finnish
Leave a Reply
You must be logged in to post a comment.